
I bent my VSS-30 about a month ago and it was my first attempt at circuit bending. I did a lot of research before I started as I didn't want to fry an already cool little retro keyboard. Some of the tips were gleaned from J. Robert Lennon whose VSS-30 preset bends I had seen on eBay of all places. The final result is a machine that still operates as it did originally but that can be tweaked to utter hell with the mods added on. Just as a forewarning, some of the preset bends I added can increase the output volume exponentially as they tap directly into the VSS-30's 5 watt amp IC; seriously, this thing gets LOUD.
On to the useful information: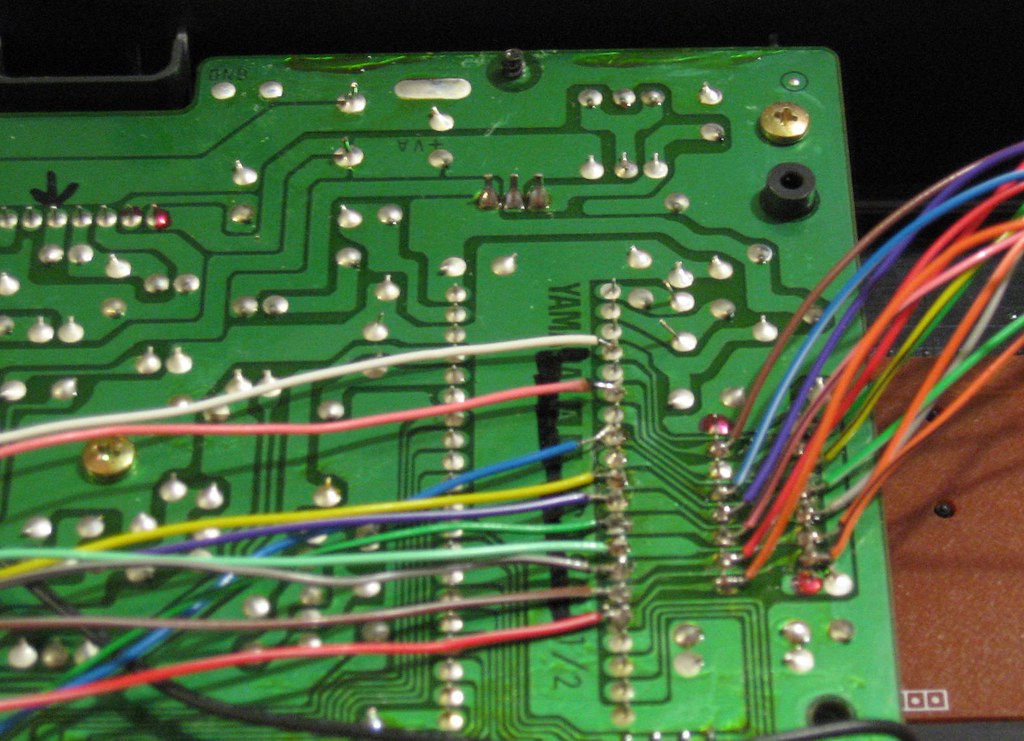
The main circuit board of the VSS-30 has a large CPU and RAM to the lower right of this photo. The RAM patch bay that I added (standard VSS-30 bend) is wired directly to the pins of RAM chip. The preset bends (toggle switches) are wired similarly to the pins going from the CPU to the RAM, so that the toggles and the patch bay are sharing the same signal path - which lends itself to more chaotic noise.
In the above picture, there is an arrow in sharpy pointing to a yellow wire. That is the bend point for all of the toggle switches.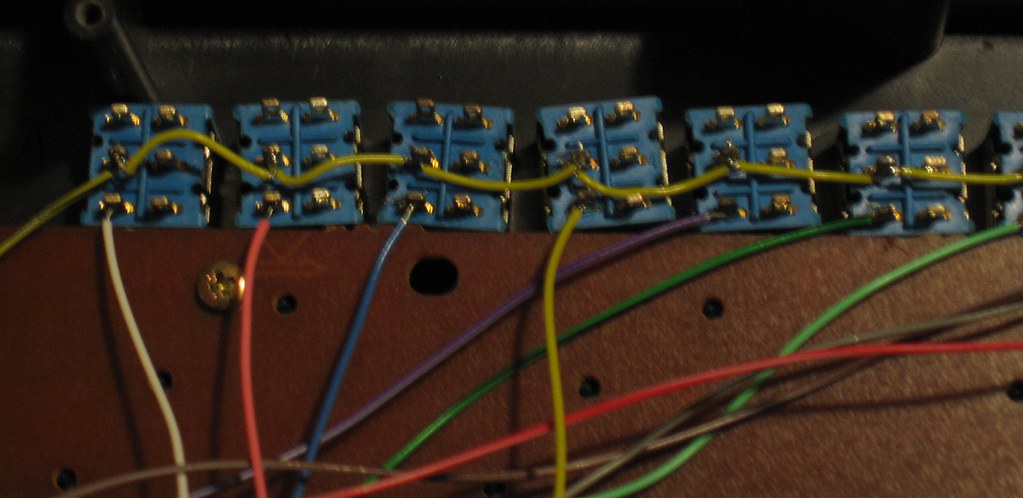
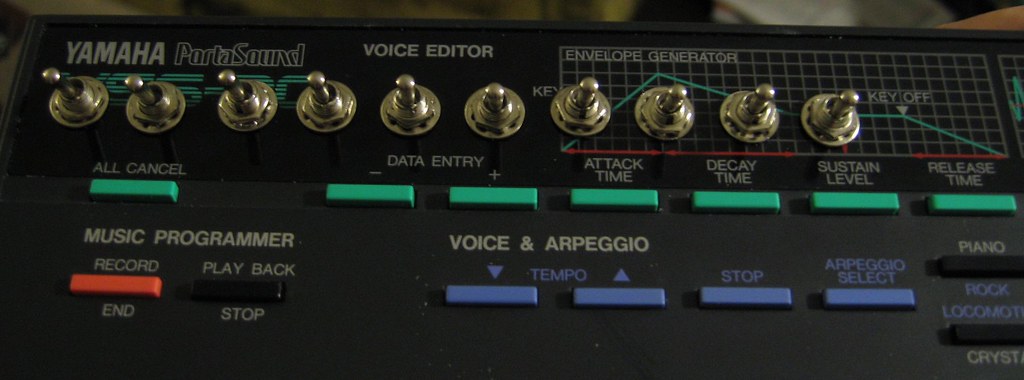
The patch bay and toggles from the front of the bent Yamaha VSS-30: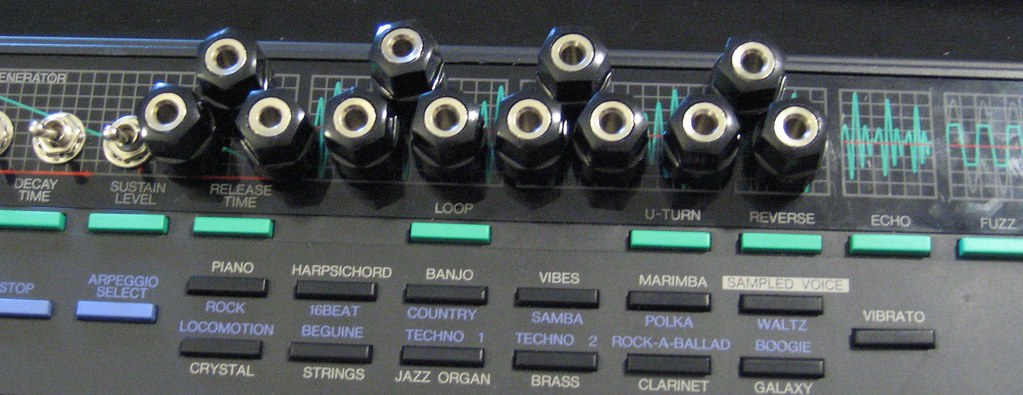
Wednesday, October 31, 2007
Octatone's Bends: Yamaha VSS-30
![]()
Subscribe to:
Post Comments (Atom)
No comments:
Post a Comment